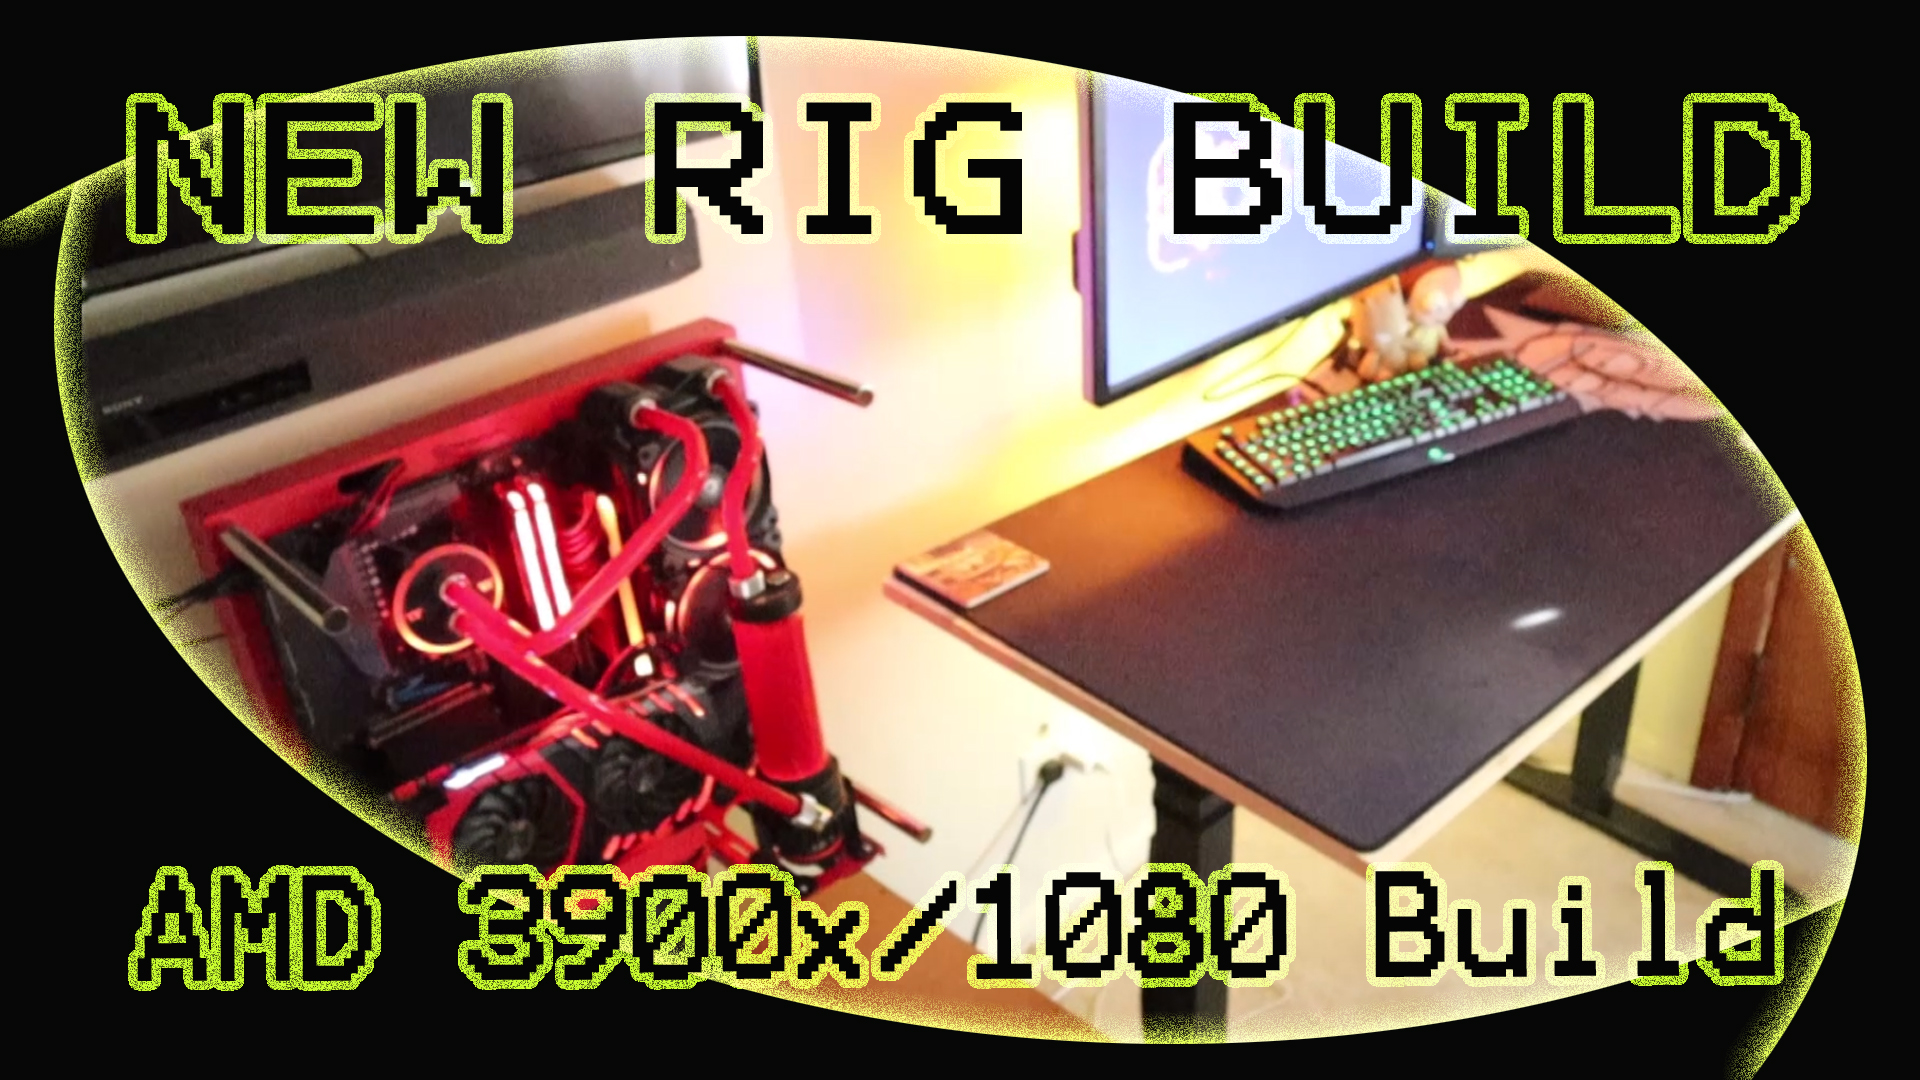
Rig Rundown – The FireGod Gaming Rig!

It’s my first liquid cooled build ever, and I decide to jump right in to a hard tube bending bender one tutorial at a time!
Here’s a quick run down of all the components in my current rig! I’m also including affiliate links if you’d like to see the items on Amazon
Core Components
- Case – Thermaltake Core P3 ATX – I left the glass off the front
- Motherboard – Gigabyte X570 Aorus Elite
- Power Supply – EVGA SuperNOVA 1000 G2 80+ Gold (fully modular)
- Custom P/S Cables – CableMod E-Series ModFlex Cable Kit
- P/S Cable Combs – CableMod ModFlex Cable Comb Kit
- RAM – Corsair Vengeance RGB PRO 2x 16 gig sticks
- NVMe Sticks – 2x WD Black SN750 1TB NVMe Gen 3 3DNAND
- Video Card – MSI GeForce GTX 1080 Gaming RGB
- PCI-E Cable Risers – ThermalTake TT PCI-E x16 — This is so you can make that vid card sit up straight
- Lighting Controller – ThermalTake TT Sync 9 Port Addressable Controller
Accessories
- Keyboard – Razer Huntsman Elite
- Mouse – Razer Naga Chroma – This thing has 12 buttons at the thumb and is the singular best gaming upgrade I’ve made – I’ve owned three of these
- Oculus Rift S – VR, because why not??
- HOTAS – Thrustmaster T.16000m – It’s pretty decent, I’m not a flight sim guy
- Monitors – Dell Ultrasharp U2412M 24″
- Monitor ‘Stands’ – This clamps on to my standing desk
- Standing Desk Frame – I used this, some cheap wood and a large mousepad
- Super Large Mousepad – Rick and Morty Extended Mega Size Mousepad
- Chair – A super soft comfy chair
- Replacement Casters for the Chair – Trust me, you want these – no scuffs no screwups
- Flame Bulb – What I use to get the fire effect behind my monitors
- Wifi Enabled Bulb Socket – For the Flame Bulb to respond to voice commands
- Clamp Base Bulb Socket – for the Flame Bulb wifi socket
- 10′ Extension Cords – For running power up the leg of the desk
- Extension Cord Squids – Needed more outlets on the underside of the desk
- Cable Organizer Sleeves – Needed for getting the bunch of cables cleanly up the underside of the desk
Liquid Cooling Installation Materials
- Cooling Kit – Thermaltake Pacific M360 Plus D5 Res/Pump – Comes with all the stuff you need to assemble a basic unit
- Sys Prep – This stuff is used to prepare the lines prior to actual coolant installation
- Thermal Compound – Arctic MX-4
- Tube Cutter – PrimoChill Universal Tube Cutter (Flex – PETG)
- T Fitting – XSPC G1/4″ T Fitting
- Ball Valve – XSPC G1/4″ Ball Valve
- Plugs – XSPC G1/4″ Plug V2
- M2M Fittings – XSPC G1/4″ Male to male fittings
- The Best Bit Ever – PrimoChill RFB Rigid Tubing Finishing Bit – Drill bit for preparing the ends of PETG
- Barb Fitting – IronBuddy G1/4″ Barb Fitting 9mm OD – use this for the drain tube for when I need to do maintenance
- Flex Tubing – For draining the system its good to hook this up to the barb fitting and drain it into an old milk container or something
- Rigid Tubing – I bought a bunch extra just in case lol
- Wash Bottle – For getting the coolant into the reservoir
- Pipe Bending Die’s – pretty damn useful

